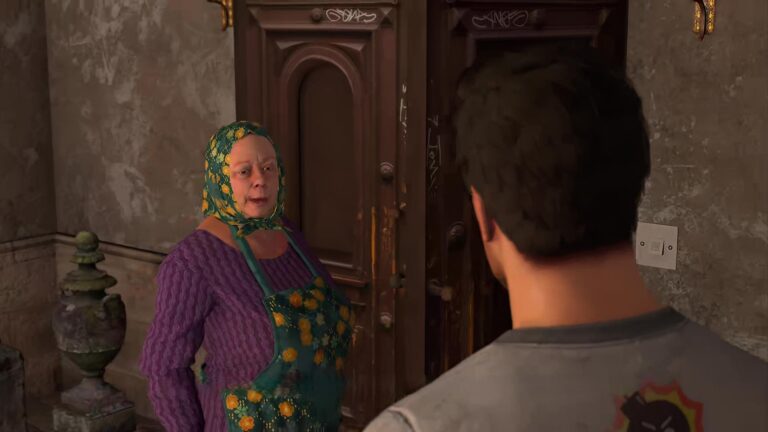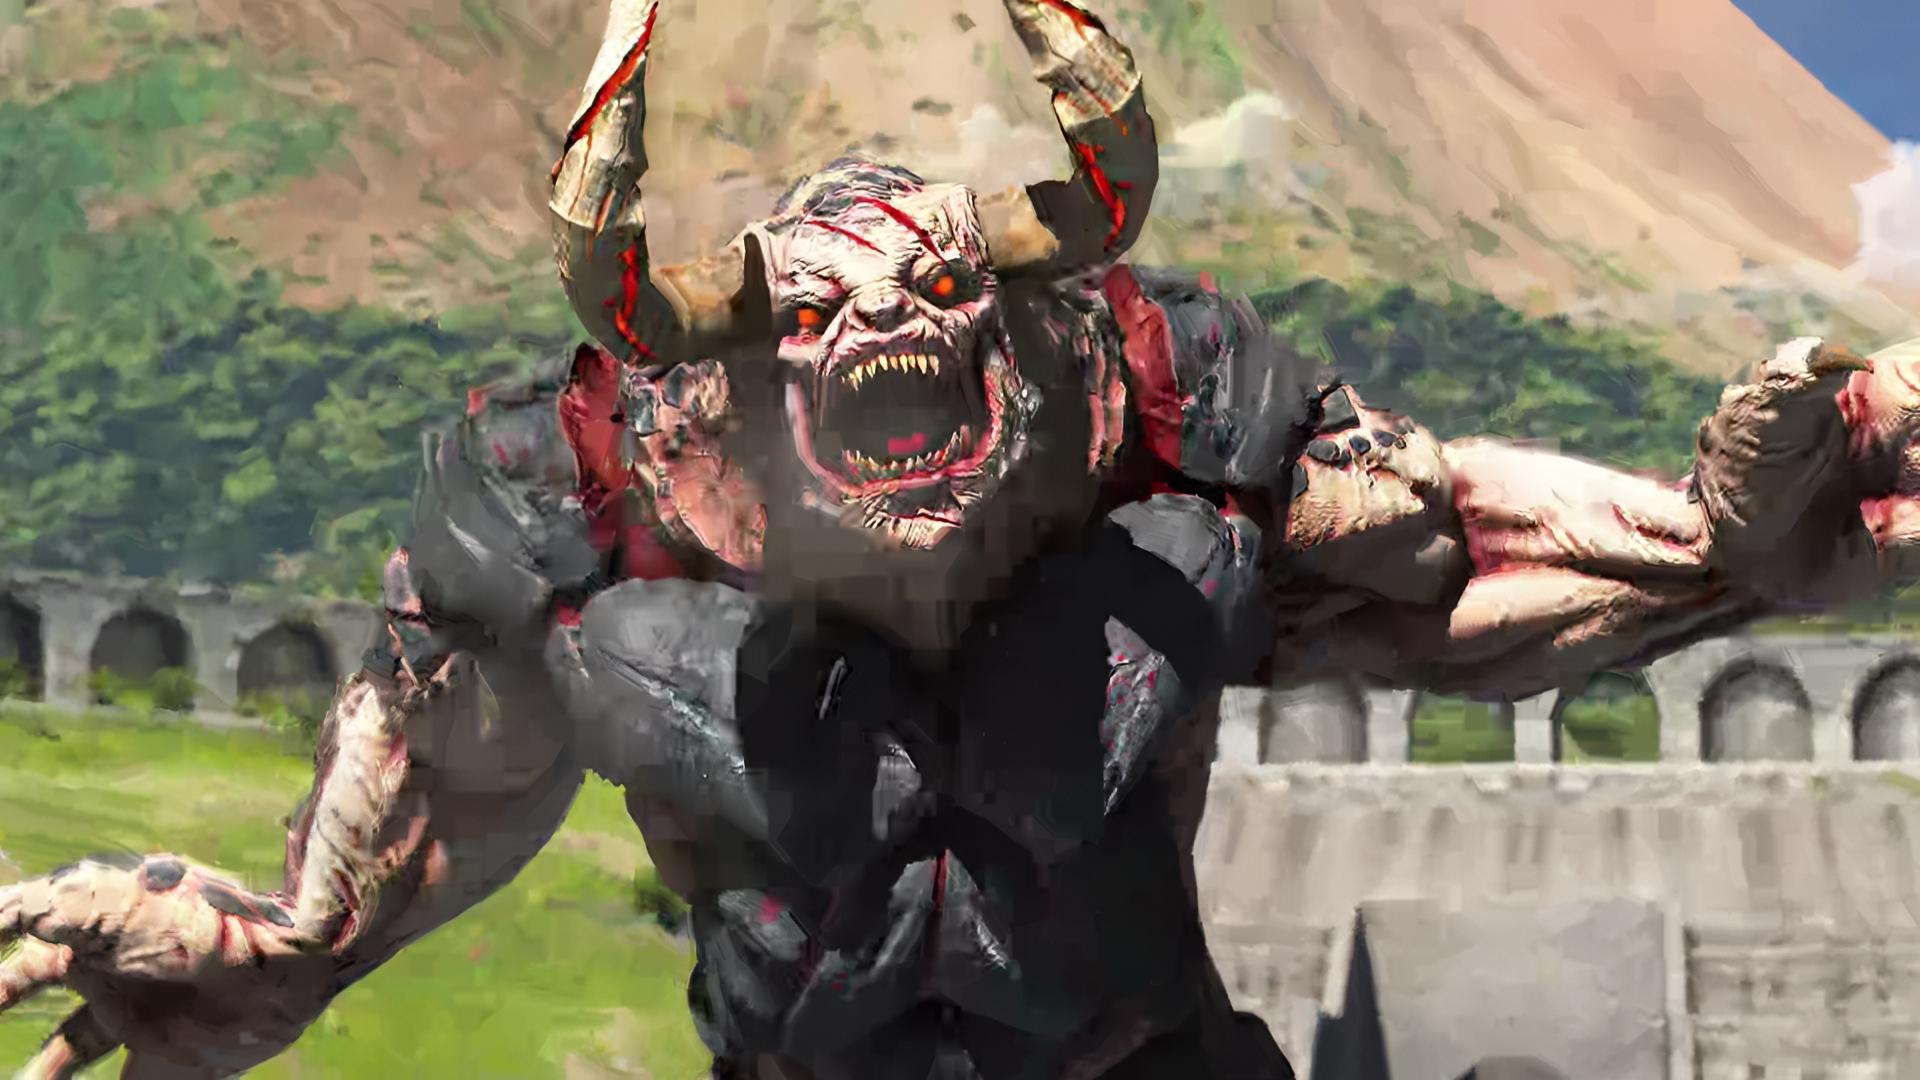
Four Horsemen of the Apocalypse is the third main chapter of Serious Sam 4, set in the ruins of Pompeii, Italy. Sam and the EDF team work to activate beacons around the city and use the HAARP satellite to trigger Mount Vesuvius and disrupt Mental’s air forces.
Throughout the chapter, players can complete three optional side missions, collect one S.A.M. egg for a skill point, and discover nine hidden secrets containing weapons, health, armor, and other rewards. The chapter also features three notes, two audio logs, and a challenging Khnum boss fight before Sam and the team escape the erupting volcano.
Four Horsemen of the Apocalypse is the third chapter of Serious Sam 4 and takes Sam and the EDF team to the ruins of Pompeii, Italy.
The plan is to use the HAARP satellite to trigger an eruption of Mount Vesuvius and disrupt Mental’s air forces. To do that, Sam and the team need to place the beacons around the ruins.
This is a much larger chapter than the first two, with plenty of enemies, 9 secrets, 3 side missions, and 1 S.A.M. egg worth a skill point. There are also 3 notes and 2 audio logs for players interested in finding all the dossier collectibles.
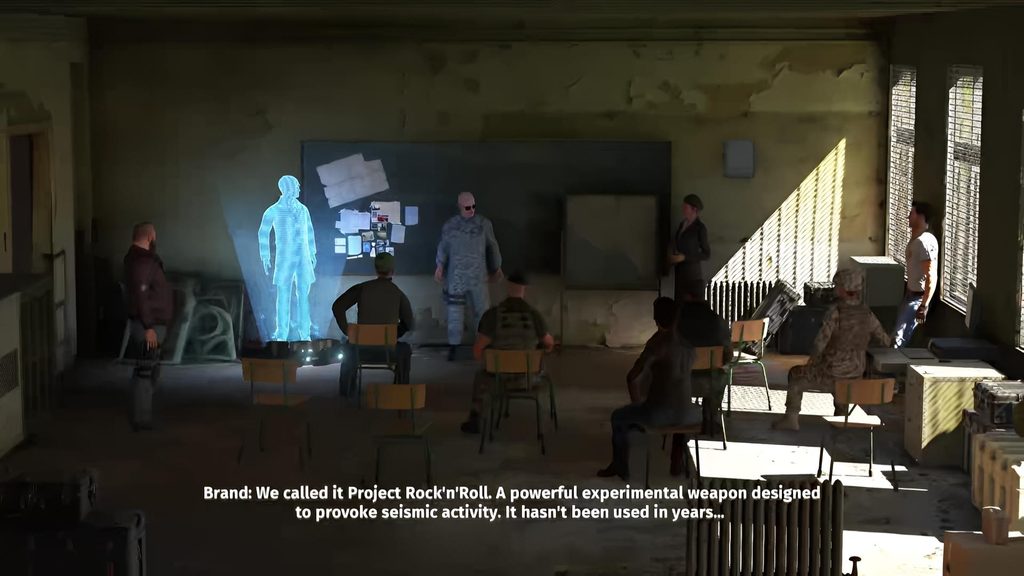
Enter the Ruins
At the beginning of the chapter, move forward through the ruins and deal with the first few groups of enemies.
You’ll quickly come across a locked gate. Don’t worry about opening it just yet. The key needed for the gate is nearby.
Before moving on, this is also a good time to start looking for the first secrets.
Secret #1 – Ammo Depot
Right at the beginning of the level, look for the large bush on the left side of the path.
Walk behind the bush to find a small hidden area containing ammunition.
This is Secret #1.
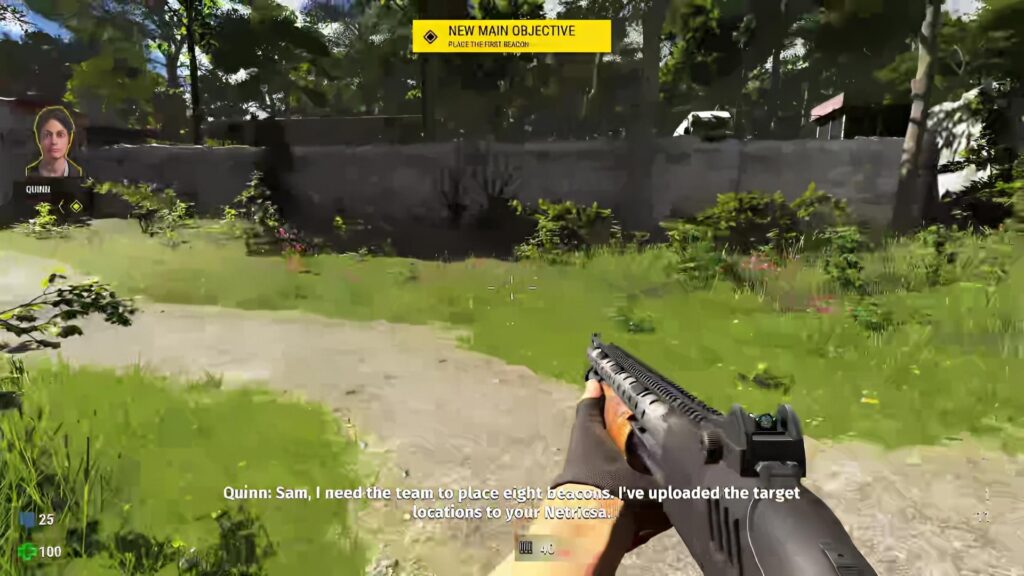
Collect the ammo and return to the main path.
Secret #2 – Hidden Supply Depot
A little further ahead, you’ll reach a slope.
Instead of immediately continuing up the slope, look to the right for a wooden barricade blocking a small passage.
Destroy the barricade with your Combat Knife or shotgun and enter the hidden area.
Inside you’ll find ammunition and a Small Armor pickup.
This is Secret #2.
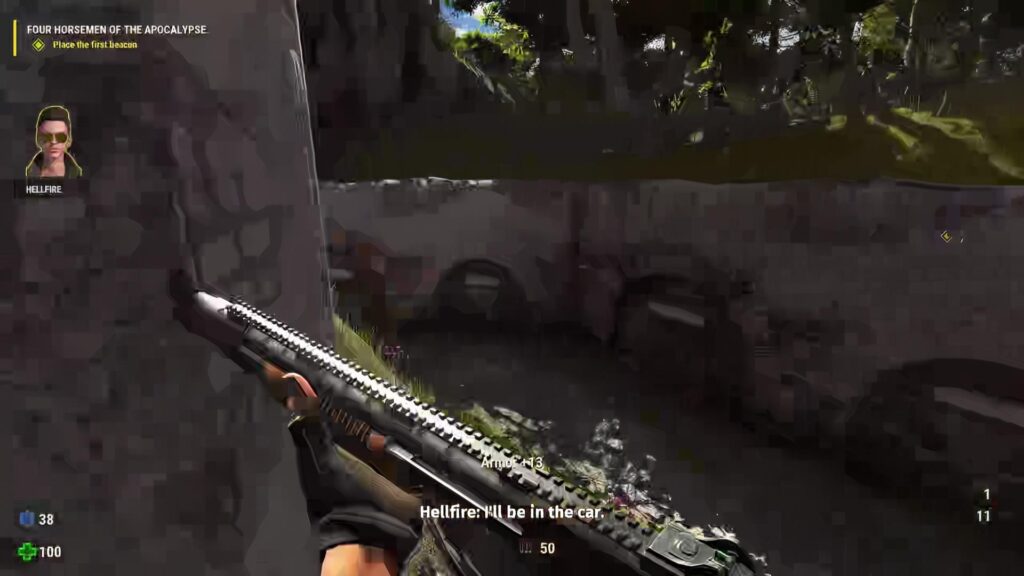
Find the Key
Continue through the area and look for a small structure containing the key needed for the locked gate.
The key is hanging inside the small building.
Once you’ve picked it up, head back toward the locked gate.
But don’t rush forward just yet — there’s an optional mission here that is worth completing.
“Key to Success” Side Mission
After leaving the first arena, you’ll come across another locked door.
Interact with it to start the optional side mission “Key to Success.”
The objective is to find the missing key that will allow you to open the locked storage room.
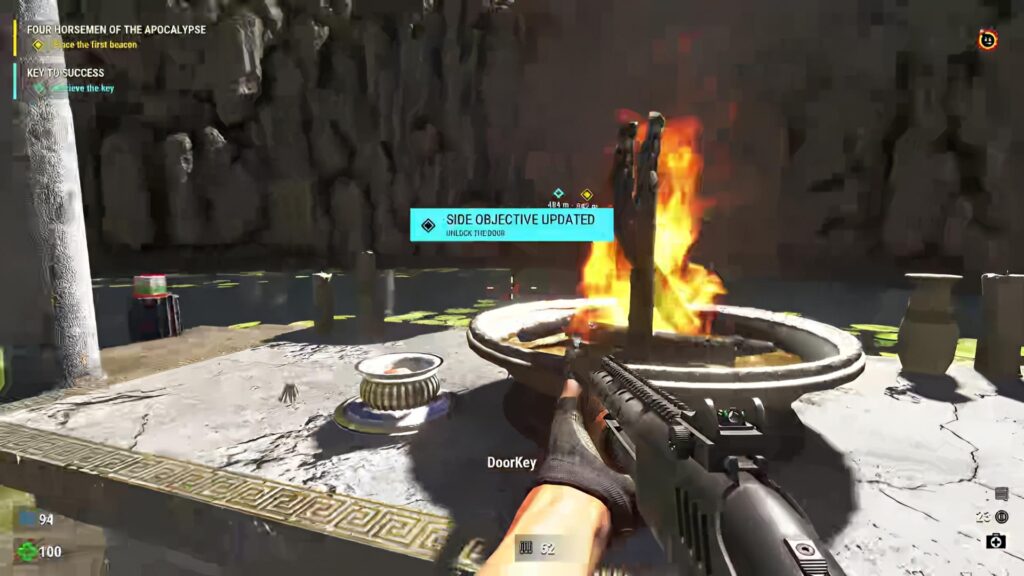
Follow the blue marker through the ruins. Eventually you’ll reach a small area where the key is sitting on a stone pedestal surrounded by fire.
Pick it up and return to the locked storage room.
Inside you’ll find 3 Rage Serums, along with health and armor.
That’s the end of Key to Success.
Secret #3 – Hidden Health
Near the portable building containing the key, look for some wooden scaffolding and planks.
There’s a health pickup sitting above them.
Shoot the planks supporting it and the health will drop down.
Pick it up to trigger Secret #3.
Secret #4 – Bad Karma Trap
While working on Key to Success, keep an eye out for a damaged structure near a group of broken pillars.
Enter the structure and you’ll activate the Bad Karma Trap.
This triggers a surprise enemy encounter with several Kleer Skeletons.
Take them out to complete Secret #4.
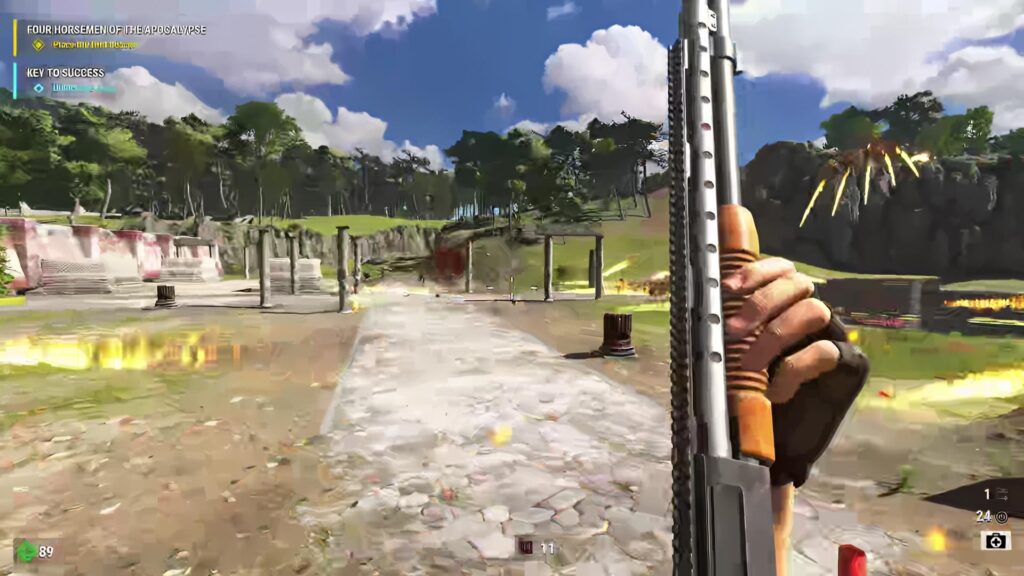
It’s a small secret, but the sudden attack can catch you off guard, so be ready before entering.
“Thin Red Line” Side Mission
Before reaching the large stone arena that looks a bit like a Colosseum, look for a portable/shipping container on the right side.
Inside is a note belonging to Alessandro, along with some keys.
Reading the note starts the optional side mission “Thin Red Line.”
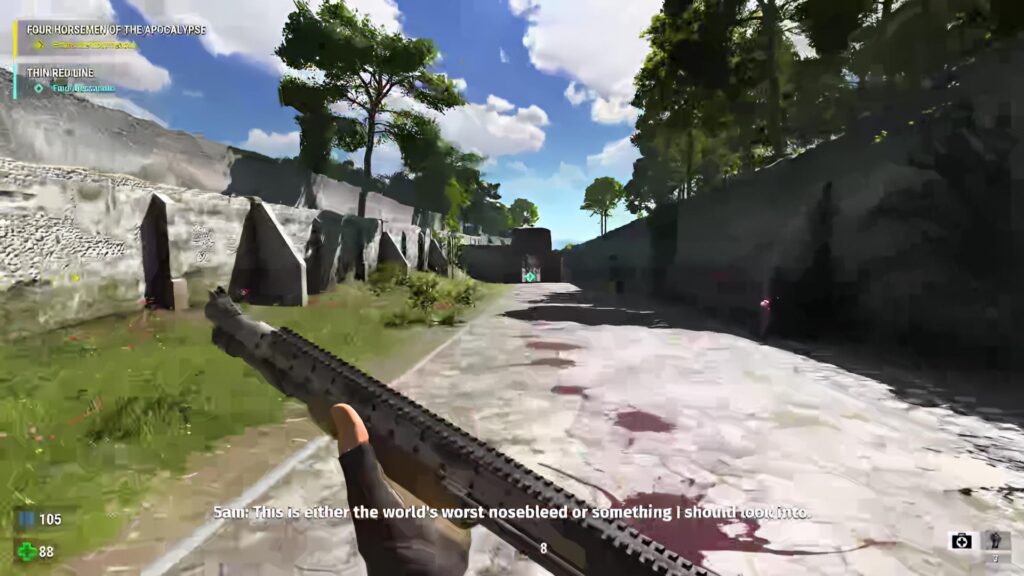
Follow the blue waypoint and you’ll eventually discover a trail of blood.
Keep following it through the ruins until you reach Alessandro’s final location.
You’ll find his body along with an equipment case.
Inside the case is the Shotgun Grenade Launcher attachment for the 12 Gauge Pump-Action Shotgun.
A large fight starts around this point, so be prepared before grabbing the upgrade.
This completes Thin Red Line and also unlocks the achievement/trophy “For the Cause.”
Important: Complete this side mission before placing the first beacon. Some walkthroughs note that placing the beacon first can prevent the mission from being completed during that playthrough.
Secret #5 – Hidden Ammo
As you continue toward the first beacon, you’ll eventually reach an area with several low walls and pillars.
Before going through the main doorway, look to the nearby walls and use them as platforms.
Jump across the low walls to reach a hidden ammunition stash.
This is Secret #5.
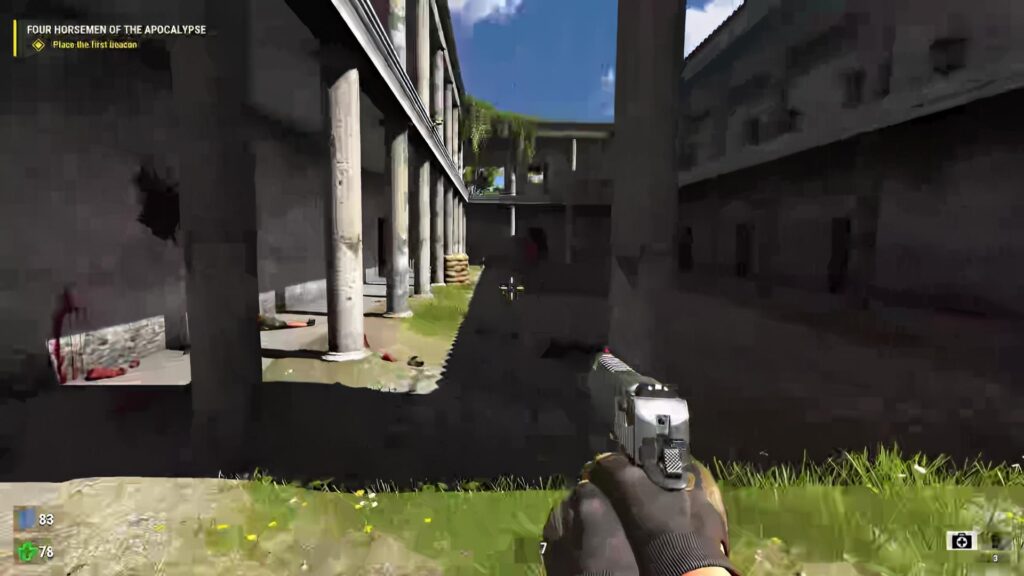
First Beacon
Continue toward the first beacon and fight your way through the enemies guarding the area.
Once you’ve cleared the area, activate the beacon.
A much larger enemy encounter follows, including the Aludran Reptiloid.
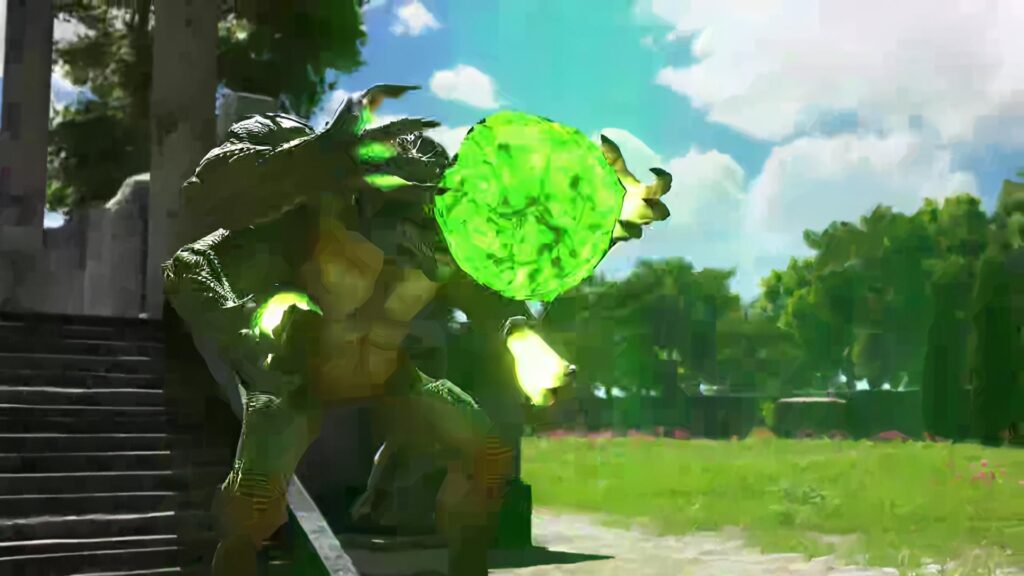
After the beacon is activated, you’ll be able to continue deeper into the ruins.
S.A.M. Egg – 1 Skill Point
After placing the first beacon, head toward the ruins past the garden.
You’ll find a S.A.M. egg in this area.
Pick it up to receive 1 skill point, which can then be spent in the S.A.M. skill tree. S.A.M. eggs are the source of skill points in Serious Sam 4.
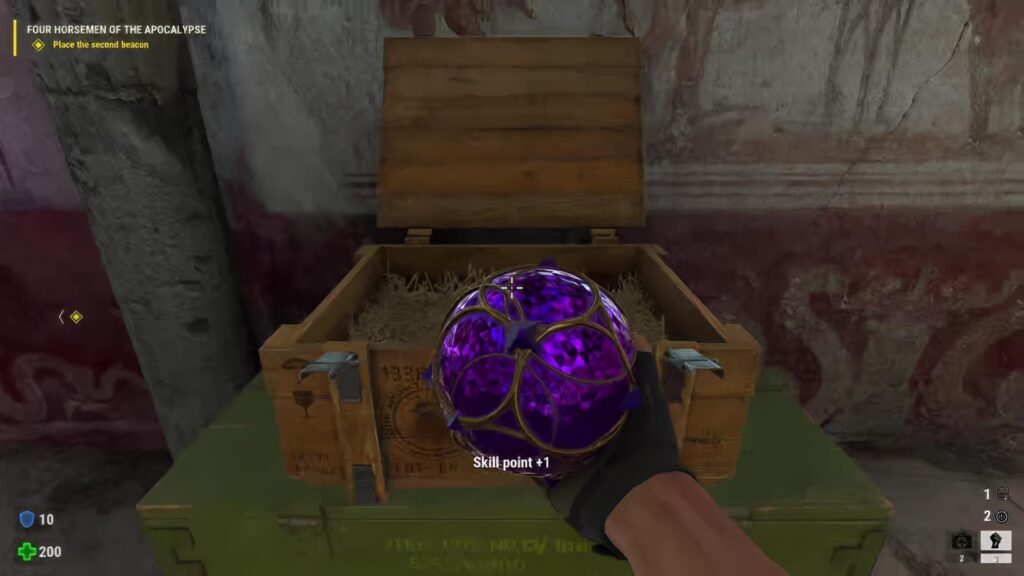
Make sure to grab this before moving too far ahead.
Secret #6 – Big Man Pyrone
Near the same general area, look for an archway with several health pickups sitting on shelves.
Start collecting the health.
Each pickup triggers another group of enemies.
Keep collecting the health and defeating the enemies until the sequence stops.
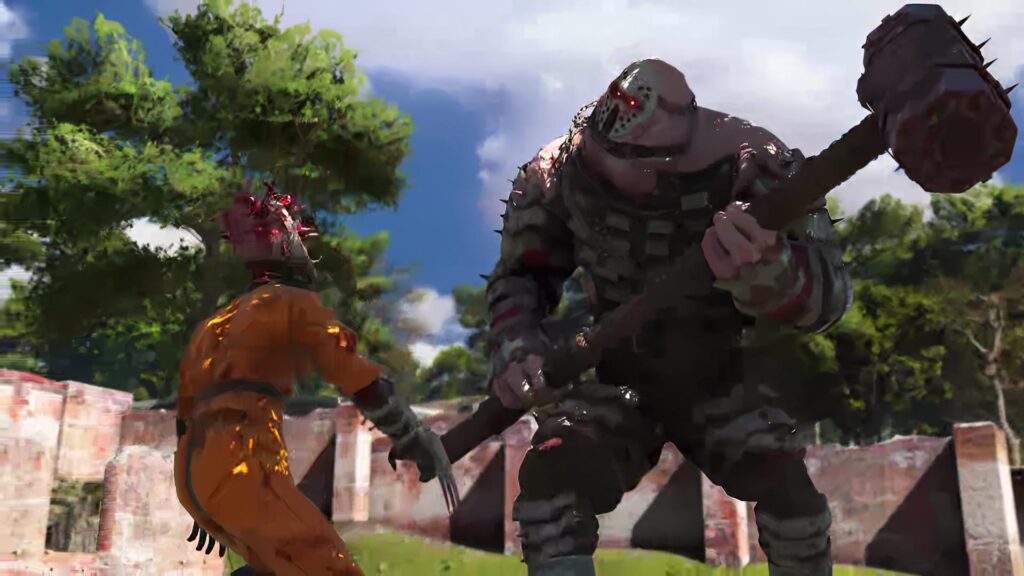
Eventually, a much larger enemy called Big Man Pyrone appears.
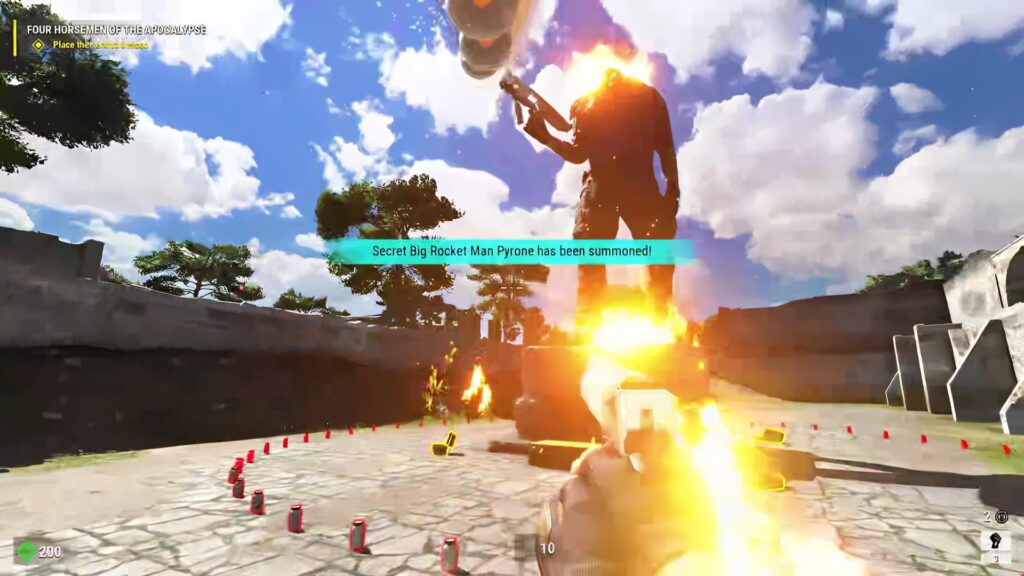
This enemy has a lot of health and can fire rockets quickly, so keep your distance and use your strongest weapons.
Once Pyrone is defeated, 2 L.I.F.E. gadgets appear.
You’ve now completed Secret #6.
Continue Through Pompeii
After the Pyrone encounter, keep following the main objective.
You’ll start seeing more of the ancient ruins as you move deeper into Pompeii. Expect several large battles along the way, especially when entering open areas.
Don’t get too comfortable — the game likes to use the open spaces to throw enemies at you from multiple directions.
Secret #7 – Hidden Rockets
Later on, you’ll reach an area where Professor Kiesel contacts Sam about an alien artifact.
Near the route you’ll notice a large staircase and some wooden structures.
Look for a small hidden route on the left side or use the grassy area to jump behind the wall.
You can reach a secluded area containing several rocket pickups.
This is Secret #7.
Grab the rockets before continuing. You’ll definitely find a use for them shortly.
“Amateur Archeology” Side Mission
Around this point, Professor Kiesel contacts Sam about an alien artifact discovered by Dr. Stein.
This starts the third side mission, “Amateur Archeology.”
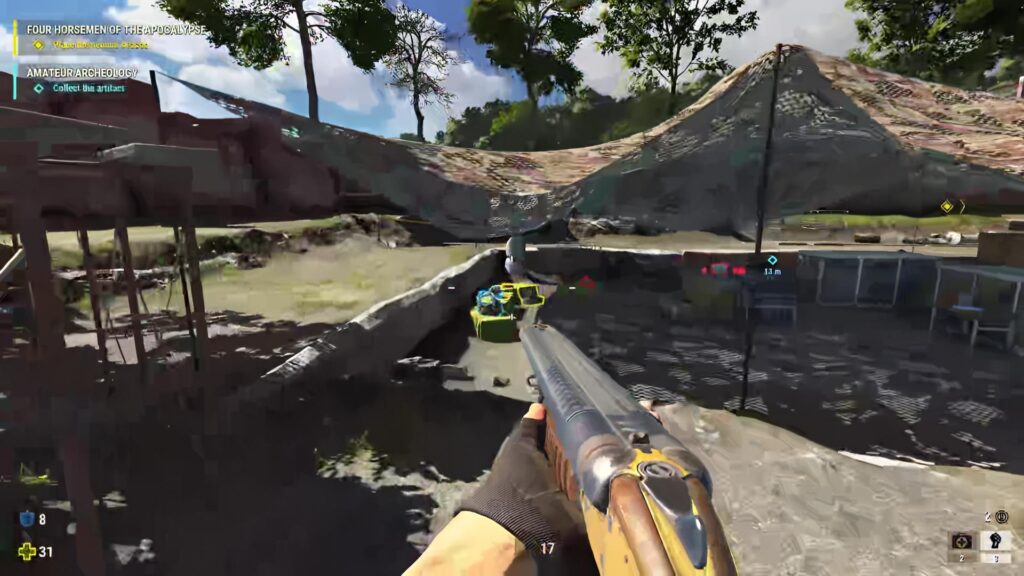
Follow the blue marker to the archaeological dig site.
You may need to clear out a few enemies before you can reach the artifact.
Once you’ve found it, interact with it to complete the objective.
Your reward is 2 Time Warps.
The side mission also unlocks the achievement/trophy “That Belongs In A Museum.”
Dossier – The Radio Blues
Before leaving the archaeological site, take a look around the tent where the mission reward is located.
You’ll find the audio log “The Radio Blues” on a crate.
There’s also a document called “Letter from Dr. Stein” on a nearby table.
These are easy to collect while completing Amateur Archeology, so don’t leave the area without checking the tent.
Secret #8 – Count Dracula
Continue toward the second beacon.
At one point you’ll pick up a Rocket Launcher and fight another group of Kleer enemies.
After the fight, stay close to the left wall.
You’ll find a small hidden area containing several Kleers and a coffin.
Inside the coffin is a sleeping Aurigan Haemovore, humorously referred to as Count Dracula.
Walk up to the coffin and interact with him.
This triggers Secret #8.
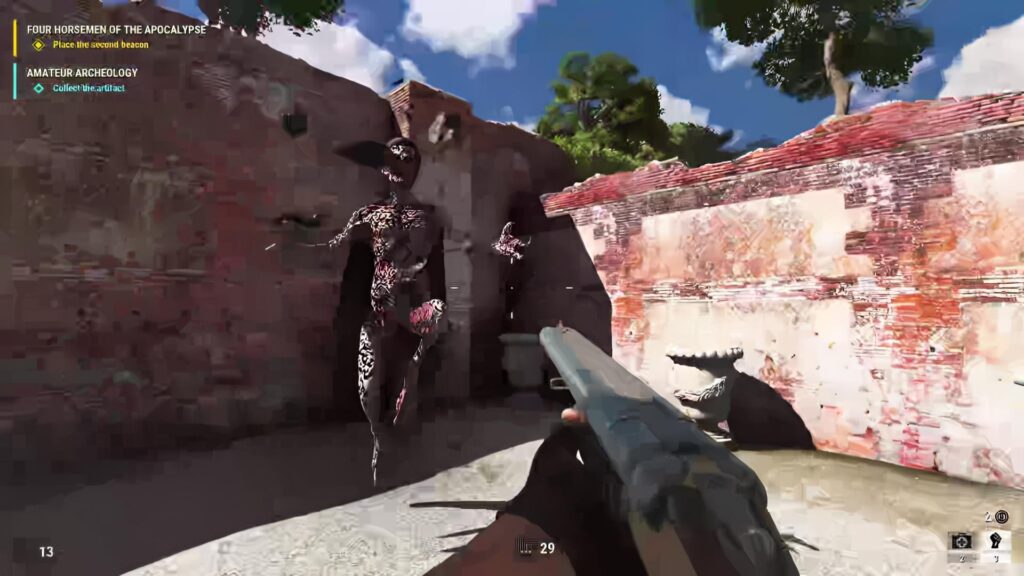
It’s one of the stranger secrets in the chapter, so definitely take a look before moving on.
The Second Beacon
Continue through the ruins until you reach the area containing the second beacon.
There will be another large battle before you can safely activate it.
Clear out the enemies and plant the beacon.
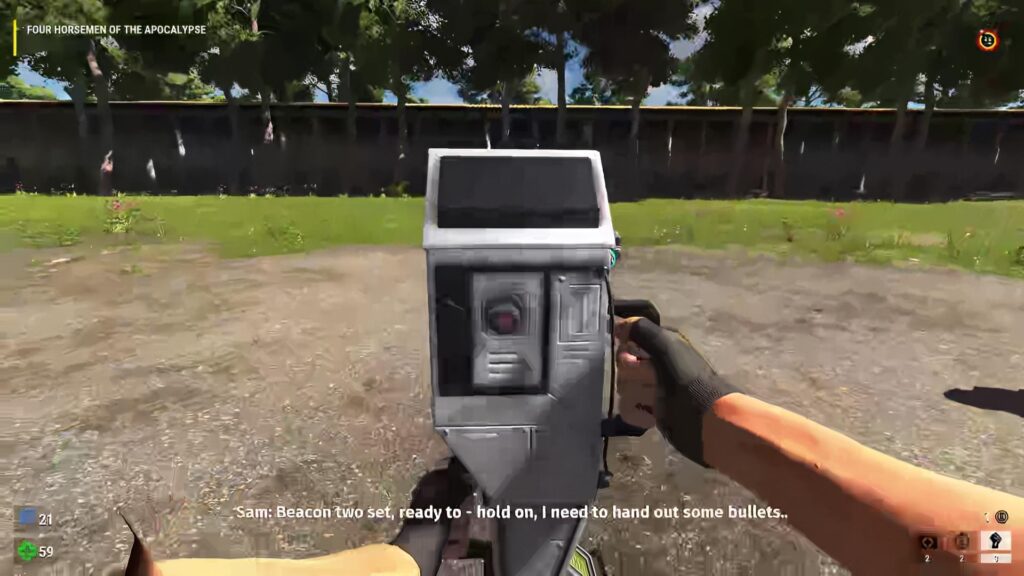
Once the beacon is active, the situation quickly gets worse.
You’ll soon have to deal with a much larger enemy and make your way toward the amphitheater.
Secret #9 – Companion Orb
After placing the second beacon, head through the gate and look for the doors on the left side.
Go through the left door, then turn left again.
You’ll find another gate with a hole in the middle.
Fire rockets through the opening to destroy the objects blocking the area.
Eventually, a Companion Orb appears.
Shoot the orb to activate Secret #9.
That is the final secret in Four Horsemen of the Apocalypse.
Find Jones
Continue through the ruins and follow the objective toward the amphitheater.
You’ll eventually discover that Jones and his beacon have gone missing.
When Sam reaches the amphitheater, you’ll discover a Khnum holding Jones and the beacon.
The creature devours Jones and swallows the beacon, leaving Sam with no choice but to fight.
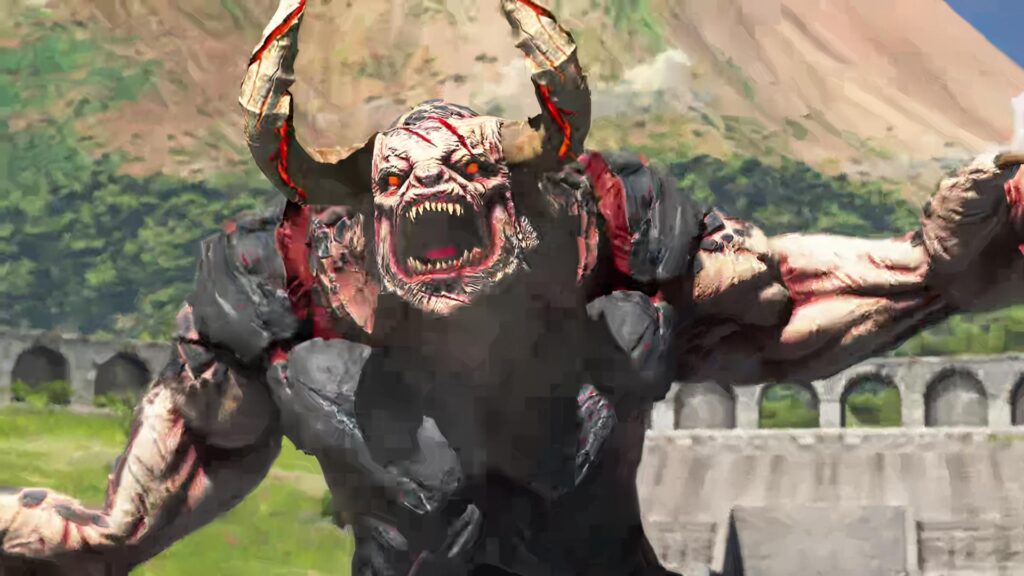
Fight the Khnum
The Khnum is a large and dangerous enemy, so keep moving around the arena instead of standing directly in front of it.
Use your Rocket Launcher, shotgun upgrades and other heavy weapons whenever you get the chance.
Watch for its attacks and keep enough room between yourself and the creature.
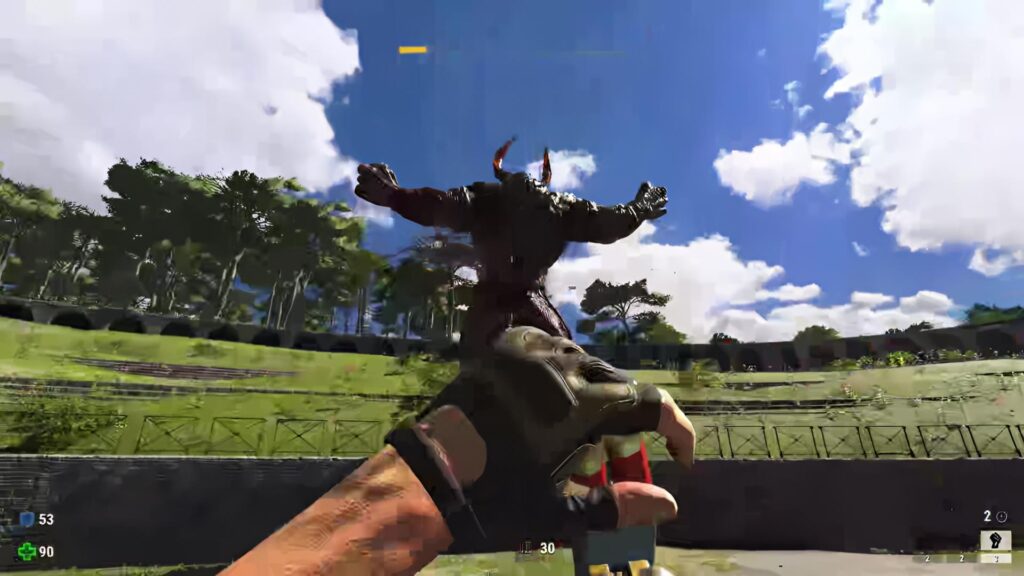
Once you’ve dealt enough damage, the Khnum will finally go down.
With Jones gone and the second beacon recovered, there’s still one major problem left.
Mount Vesuvius Erupts
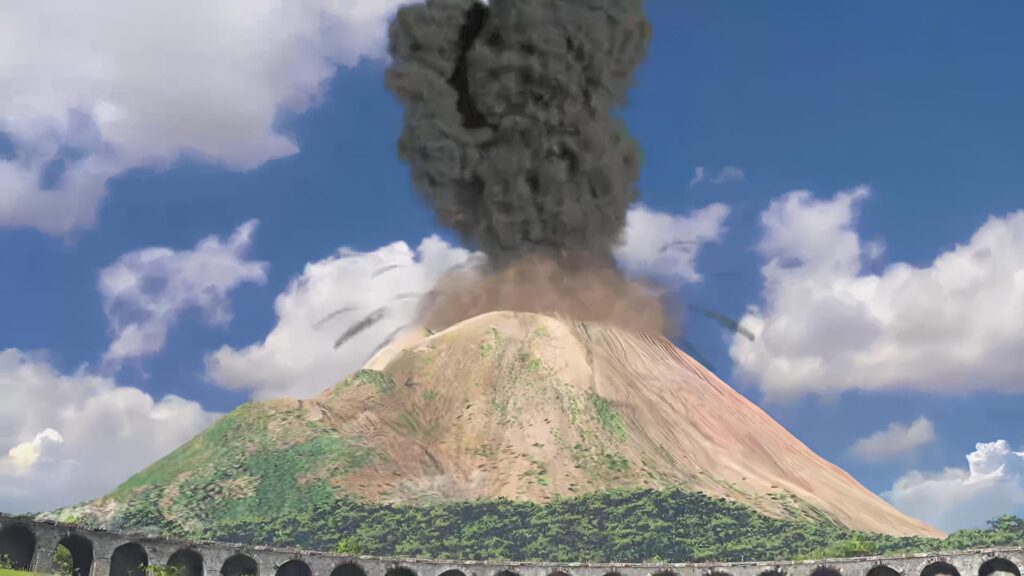
After the beacons are activated, the HAARP system is used to trigger Mount Vesuvius.
The volcano erupts, sending lava through Pompeii.
Now the objective changes completely:
Get out of Pompeii.
Dossier Collectibles
Four Horsemen of the Apocalypse contains 3 notes and 2 registered audio logs.
The collectibles are:
Audio Log: “The Ball Game” — inside the same portable building where you find the key for the first locked gate.
Document: “Portunalia for Beginners” — near the locked door where the Key to Success side mission begins.
Document: “Letter to Commander Passolini” — inside the shipping container near the villa, where you find the keys for Thin Red Line.
Audio Log: “The Radio Blues” — at the archaeological dig site during Amateur Archeology.
Document: “Letter from Dr. Stein” — at the same archaeological site, on the table beneath the tent.
Chapter 3 Checklist
- Side Missions: 3
- Key to Success: 3 Rage Serums
- Thin Red Line: Shotgun Grenade Launcher attachment
- Amateur Archeology: 2 Time Warps
- Secrets: 9
- S.A.M. Eggs: 1
- Skill Points: 1
- Notes: 3
- Audio Logs: 2
- Main Objective: Activate the beacons and trigger the eruption of Mount Vesuvius
- Location: Pompeii, Italy
Once you’ve escaped the volcano, Four Horsemen of the Apocalypse is complete. Next up is Chapter 4: Gates of Hell, where the team has to escape Pompeii as the eruption turns the entire area into a battlefield.