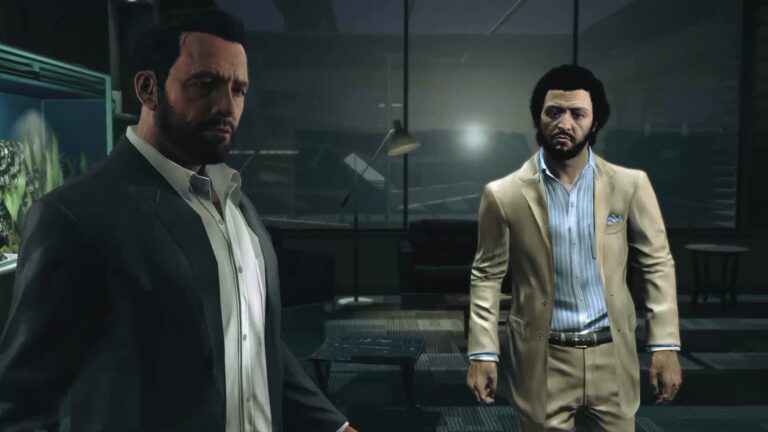
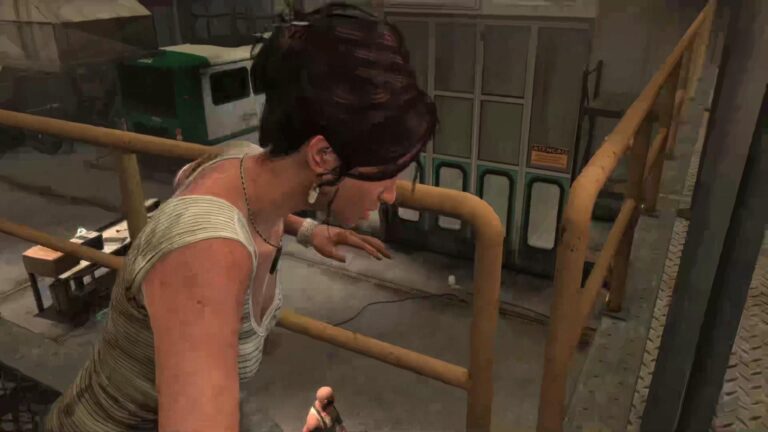
Chapter 8 of Max Payne 3 takes place in Golgotha Cemetery, New Jersey, where Max Payne and Passos are ambushed by DeMarco assassins. Players navigate shootouts through the graveyard, morgue, and funeral home while protecting Passos from hostile forces, including snipers and grenade launcher operators.
The level contains nine total collectibles, consisting of six weapon parts and three clues. Finding all parts unlocks the Golden Auto 9MM and Golden 608 Bull handguns. Additionally, players can earn a specific achievement by shooting ten airborne grenades during one of the cemetery encounters.
“Ain’t No Reprievement Gonna Be Found Otherwise” is the eighth chapter of Max Payne 3 and takes Max back to Golgotha Cemetery in New Jersey, where his wife Michelle and daughter Rose are buried. While Max visits their graves with Passos, a group of DeMarco assassins arrives and forces Max into another brutal fight. The chapter takes place almost entirely inside the cemetery before moving into a morgue and funeral home.
There are 9 collectibles in this chapter: 6 Golden Gun parts and 3 Clues. The Golden Gun parts complete the Golden Auto 9MM and Golden 608 Bull.
[IMAGE HERE]
Escape the First Ambush
Max begins beside Michelle and Rose’s graves.
Passos leaves Max alone for a moment, but it doesn’t take long before three armed men arrive. Take cover behind the tombstone and deal with them before moving farther down the hill.
More enemies will appear as you make your way through the cemetery. Stay close to the larger tombstones for cover and use Bullet Time whenever several enemies expose themselves at once.
Eventually, a cutscene plays and a speeding van comes toward Max and Passos.
Shoot the Driver
When the van comes toward you, aim for the driver and kill him before the vehicle reaches Max and Passos.
The van crashes through the gate, opening the way into the next section of the cemetery.
[IMAGE HERE]
Cemetery Shootout
Follow Passos through the broken gate.
You’ll quickly come under attack from another group of DeMarco soldiers. One enemy is carrying a grenade launcher, making him the biggest threat in the area.
Take him out as quickly as possible, then clear the remaining enemies around the stairs.
Golden Auto 9MM Part 1
Before going up the large staircase, turn right.
Follow the path toward the two mausoleums. The first Golden Auto 9MM part is lying on the ground near the furthest tomb.
[IMAGE HERE]
Collectible: Golden Auto 9MM – Part 1/3
Grab it before heading up the stairs.
Clue 1 – Valerie’s Tombstone
After clearing the enemies at the top of the stairs, don’t immediately follow Passos.
Stay toward the right side of the cemetery and look for a tall gravestone near the path.
This is Valerie Winters’ tombstone.
Examine it to collect the first clue.
[IMAGE HERE]
Clue: Valerie’s Tombstone
Once you’ve examined it, regroup with Passos.
Golden 608 Bull Part 1
Continue forward and clear the next group of enemies around the parked vehicles.
After the fight, look for a monument near the side of the van.
Walk around behind the monument to find the first Golden 608 Bull part.
[IMAGE HERE]
Collectible: Golden 608 Bull – Part 1/3
Continue through the cemetery after picking it up.
Circular Cemetery
Passos moves farther ahead and Max enters another large circular section of the graveyard.
Enemies will attack from several positions, so move between the tombstones and don’t stay exposed for too long.
Once the area is clear, follow the circular path around the outside.
Golden Auto 9MM Part 2
Stay toward the right side of the circular area.
Follow the curved path all the way around until you reach the far end.
The second Golden Auto 9MM part is lying on the ground there.
[IMAGE HERE]
Collectible: Golden Auto 9MM – Part 2/3
After collecting it, continue toward the gate.
Defend Passos
At the next gate, an enemy takes aim at Passos.
Take him out immediately, then clear the rest of the enemies in the area.
After the firefight, look toward the center of the circular cemetery.
Golden 608 Bull Part 2
There is a small gondola-like structure beneath the dome in the middle of the area.
Move underneath it to find the second Golden 608 Bull part.
[IMAGE HERE]
Collectible: Golden 608 Bull – Part 2/3
Clue 2 – Nicole’s Mausoleum
While you’re in the same circular section, look around the ring of mausoleums.
One of them is marked “Horne.”
This is Nicole Horne’s Mausoleum, a reference to the antagonist from the original Max Payne.
Examine it to collect the second clue.
[IMAGE HERE]
Clue: Nicole’s Mausoleum
Afterward, return to Passos.
Move Through the Cemetery
Passos is taken hostage during the next section.
Stay behind cover and wait for the enemies to expose themselves. You’ll have to move from one piece of cover to another while several enemies attack from the surrounding cemetery.
A sniper will eventually begin firing from a tower.
Keep moving and use the tombstones to avoid his shots. Once you’re close enough to the building, enter through the opening on the left.
[IMAGE HERE]
Take Out the Sniper
Fight your way into the building and eliminate the remaining enemies.
Once you’re inside, move toward the sniper’s position.
Take him out and continue outside into the next small graveyard section.
Clue 3 – Vinnie’s Tombstone
After killing the sniper, look straight ahead for a distinctive black marble tombstone.
The grave is marked Vincent “Vinnie” Gognitti.
Examine it to collect the third and final clue of the chapter.
[IMAGE HERE]
Clue: Vinnie’s Tombstone
This is another reference to a character from the earlier Max Payne games, making the cemetery section one of the chapter’s best pieces of fan service.
Golden Auto 9MM Part 3
Continue toward the open gate.
Before entering the next area, look to the left of the gate for a small shed.
Go inside and check the floor.
The final Golden Auto 9MM part is waiting inside.
[IMAGE HERE]
Collectible: Golden Auto 9MM – Part 3/3
You have now completed the Golden Auto 9MM.
There is also a Painkiller inside the shed, so grab it before moving on.
Enter the Morgue
Continue through the gate and toward the morgue.
Several enemies are waiting inside. Clear the first group and search the small room on the left before leaving.
There’s a Painkiller inside.
[IMAGE HERE]
Continue through the morgue until Max reaches Passos again.
Golden 608 Bull Part 3
After leaving the first morgue area, Max takes cover outside while more enemies attack.
As soon as you regain control, move slightly toward the left side.
You’ll find a Painkiller and the final Golden 608 Bull part lying nearby.
[IMAGE HERE]
Collectible: Golden 608 Bull – Part 3/3
This completes the Golden 608 Bull and all six Golden Gun parts in Chapter 8.
Protect Passos
Now you need to help Passos survive another wave of enemies.
Take out the enemies on the ground first and then focus on the gunner positioned on the upper level.
Once you’ve killed him, pick up his rifle and use the nearby ammunition supply to refill your ammo.
[IMAGE HERE]
Use the rifle to cover Passos while additional enemies move into the area.
This section can become chaotic quickly, so try to eliminate enemies before they can get close to him. Once the final enemies are dealt with, a cutscene begins.
You Might Hurt Someone With That
Chapter 8 also provides a good opportunity to work toward the You Might Hurt Someone With That achievement/trophy.
The achievement requires you to shoot 10 airborne grenades. One of the easiest setups is the cemetery encounter where an enemy with a grenade launcher repeatedly fires grenades down the stairs.
Instead of simply killing the grenade-launcher enemy, focus on the grenades after you’ve dealt with the other attackers. Shoot them out of the air and continue doing so until you’ve destroyed ten.
[IMAGE HERE]
Chapter 8 Collectibles Checklist
Golden Auto 9MM
- Golden Auto 9MM Part 1
- Golden Auto 9MM Part 2
- Golden Auto 9MM Part 3
Golden 608 Bull
- Golden 608 Bull Part 1
- Golden 608 Bull Part 2
- Golden 608 Bull Part 3
Clues
- Valerie’s Tombstone
- Nicole’s Mausoleum
- Vinnie’s Tombstone
Achievement/Trophy
- You Might Hurt Someone With That – Shoot 10 airborne grenades.
Chapter 8 Collectible Total
6 Golden Gun Parts + 3 Clues = 9 Collectibles