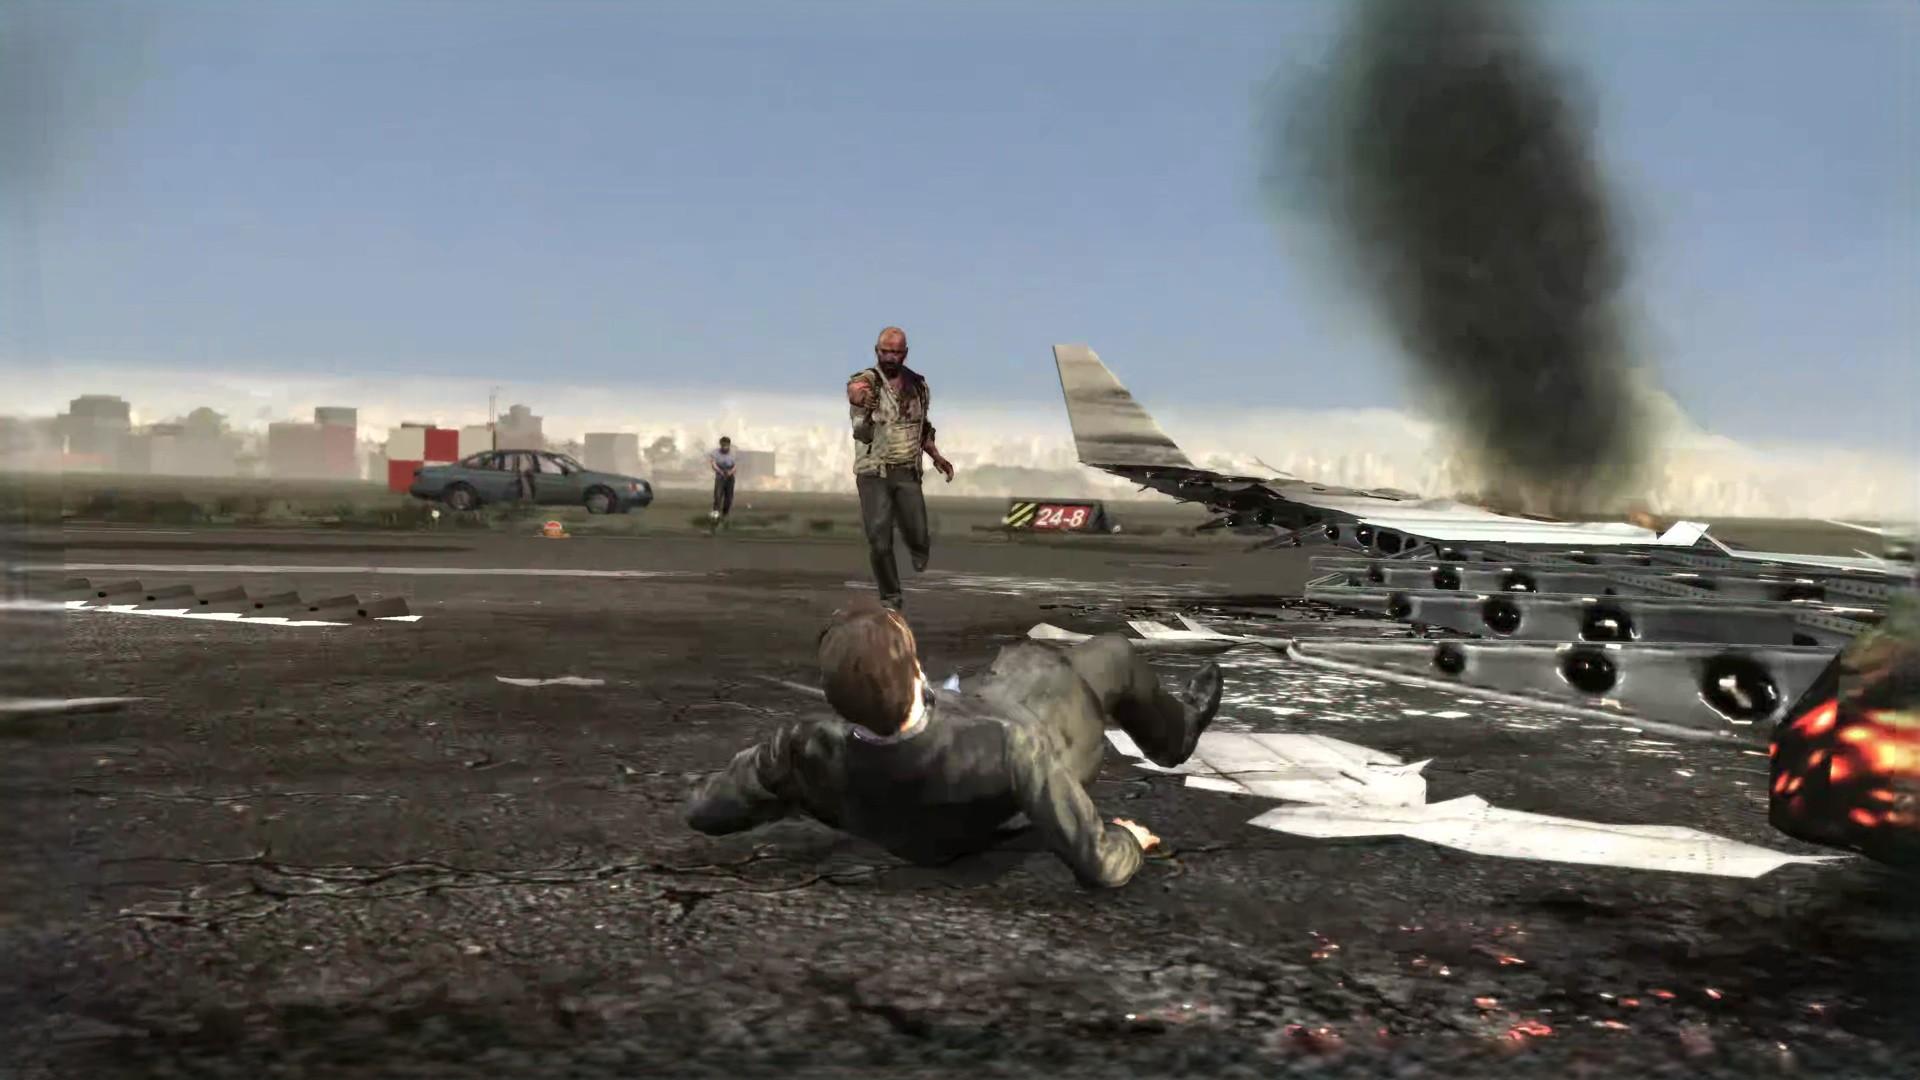
One Card Left to Play is the fourteenth and final chapter of Max Payne 3, bringing Max’s story to its explosive conclusion in São Paulo. Max fights through the final enemies and confronts the people responsible for the events that have followed him throughout the game.
Throughout the chapter, players can find the remaining collectibles and fight through several intense encounters before reaching the final confrontation. The chapter concludes Max Payne 3’s main story with a climactic final battle and ending.
“One Card Left to Play” is the fourteenth and final chapter of Max Payne 3. Max arrives at Piratininga Airport determined to stop Becker and the people behind the kidnappings once and for all. The chapter starts inside the airport’s baggage-handling area before moving through the departure lounge and ending with a frantic chase across the runway.
There are 7 collectibles in this chapter: 6 Golden Gun parts and 1 Clue. The weapon parts complete the Golden Rotary Grenade Launcher and Golden RPD. This chapter also contains two achievement/trophy opportunities: You Push A Man Too Far and The Road-Kill Behind Me.
[IMAGE HERE]
Escape Onto the Conveyor Belt
The chapter begins with Max arriving at the airport.
After the opening sequence, Max ends up riding a luggage conveyor belt while UFE guards begin closing in.
Jump off the conveyor belt and immediately find cover. Several enemies are positioned throughout the baggage area, including some on the upper walkways.
Take them out one at a time and use Bullet Time when you’re caught in the open.
[IMAGE HERE]
Once the area is clear, look back toward the conveyor belt.
Golden Rotary Grenade Launcher Part 1
Return to the conveyor belt and follow it toward the far left side of the room.
At the end of the belt, climb onto the raised metal platform.
The first Golden Rotary Grenade Launcher part is waiting there.
[IMAGE HERE]
Collectible: Golden Rotary Grenade Launcher – Part 1/3
After collecting it, return to the main room.
Reach the Control Room
Enter the nearby control room and use the stairs at the back to reach the upper catwalks.
More guards will appear as you climb, so stay near the walls and use the railings for cover.
Continue across the catwalk until you reach the upper control room.
Golden Rotary Grenade Launcher Part 2
Once inside the upper control room, don’t use the doors straight ahead.
Instead, look for the double doors on the right.
Go through them to find the second Golden Rotary Grenade Launcher part.
[IMAGE HERE]
Collectible: Golden Rotary Grenade Launcher – Part 2/3
There’s also a Painkiller nearby, so grab it before continuing.
Fight Through the Hallway
Leave the control room and enter the next area.
Take out the guard ahead and continue down the corridor. More enemies will appear as you move through the hallway.
There is a small room along the way containing a Painkiller.
Once the corridor is clear, don’t go through the main door at the end yet.
Instead, look for the double doors on the right.
Bathroom Collectibles
Enter the bathroom.
There are two important collectibles inside, so make sure you search the room before leaving.
Golden Rotary Grenade Launcher Part 3
Head into the shower area.
The final Golden Rotary Grenade Launcher part is lying inside one of the shower stalls.
[IMAGE HERE]
Collectible: Golden Rotary Grenade Launcher – Part 3/3
This completes the Golden Rotary Grenade Launcher.
Clue – Ex-Cop
Stay inside the same bathroom.
Look for the toilet stall next to the showers and approach the door.
A short cinematic plays involving the ex-cop, Anders.
[IMAGE HERE]
Clue: Ex-Cop
This is the only clue in Chapter 14, and this encounter also contributes to the game’s tourist-location collectible. The encounter only appears if you’ve found the previous ex-cop locations earlier in the game.
Once the scene is over, leave the bathroom.
Reach the Departure Lounge
Continue through the airport until you reach the large departure lounge.
You’ll be facing a large number of guards, so don’t rush across the open floor.
Use the luggage counters and other cover around the room while clearing the enemies.
[IMAGE HERE]
Once the area is safe, head toward the escalator on the right side.
Take the escalator up to the next level.
Golden RPD Part 1
At the top of the escalator, look toward the long walkway.
Follow it to the left, then turn left again and continue all the way to the far end.
You’ll eventually reach the area near Gate 17.
The first Golden RPD part is behind the gate’s service counter.
[IMAGE HERE]
Collectible: Golden RPD – Part 1/3
Grab the Painkiller nearby before heading back.
Golden RPD Part 2
Return toward the departure lounge and head downstairs.
Before pressing the flashing button that opens the security doors, check the counter on the left side of the lounge.
The second Golden RPD part is sitting there.
There are also two Painkillers nearby.
[IMAGE HERE]
Collectible: Golden RPD – Part 2/3
Now return to the security gate.
Open the Security Gate
Press the flashing button to open the security doors.
More guards will immediately move in, so get into cover and take them out before pushing forward.
Fight your way toward the next escalators and continue through the open gate.
You’ll eventually reach another control room.
[IMAGE HERE]
Enter the control room, grab the Painkiller and activate the flashing switch to restore the airport’s power.
More enemies arrive while Max waits, so stay inside the room and use the doorway as cover.
Ride the Airport Tram
Once the area is clear, move toward the tram.
Max boards the train and another large firefight begins.
Enemies will appear around the tracks and inside nearby buildings.
Stay behind cover and eliminate them one by one as the tram moves through the airport.
[IMAGE HERE]
Don’t get too aggressive here. Let the enemies come into view and use Bullet Time whenever you need a clean shot.
After the tram reaches the next section, a cinematic sequence begins.
Golden RPD Part 3
After Max makes the jump from one tram car to another, kill the three enemies inside the car.
As soon as they’re down, turn around and run toward the rear of the train.
The final Golden RPD part is at the far end of the last carriage.
[IMAGE HERE]
Collectible: Golden RPD – Part 3/3
This is the final collectible in Max Payne 3. You should now have all 84 Golden Gun parts and all 65 Clues if you collected everything throughout the game.
Face Becker
After the tram sequence, Max confronts Becker.
Take cover and focus on the guards surrounding him.
Don’t worry about damaging Becker immediately. Keep eliminating his soldiers until Becker is left exposed.
[IMAGE HERE]
Eventually Becker enters a Bullet Time sequence.
Aim for his grenade launcher and shoot it to take him down.
You Push A Man Too Far
After Becker is defeated, Max approaches the wounded man.
A targeting reticle appears, making it look like you’re supposed to finish him off.
Don’t press anything.
Do not shoot Becker.
Simply wait through the cinematic until Max walks away.
This unlocks You Push A Man Too Far, which requires you to not shoot the disarmed man.
[IMAGE HERE]
Once the scene ends, Max moves outside toward the airport runway.
The Runway
Max gets into a car and begins chasing the escaping plane.
This is the final major gameplay sequence of the campaign.
Max is armed with a grenade launcher, and you’ll need to destroy a series of enemy vehicles while the car races down the runway.
[IMAGE HERE]
The biggest thing to remember is that the grenades have travel time and drop, so aim slightly ahead of moving vehicles.
The Road-Kill Behind Me
This is your final achievement/trophy opportunity.
You need to destroy every required vehicle on the runway, including:
- The first four Humvees
- The helicopter
- Four parked police cars
- The final security vehicle
- The armored vehicle
You don’t need to kill the soldiers on foot.
[IMAGE HERE]
Bullet Time can make the vehicle shots much easier, especially when you’re trying to hit moving targets.
If you miss a vehicle, restart the checkpoint and try the sequence again.
Chase the Plane
Continue firing at the vehicles while the car speeds toward the runway’s end.
Eventually Max gets close enough to the escaping aircraft.
The final target is the plane itself.
Aim the grenade launcher at the aircraft’s engines and fire.
[IMAGE HERE]
Once the plane is hit, a cinematic begins.
The Ending
The final scenes bring Max’s story to a close.
After everything that happened in São Paulo, Max finally has to decide what comes next.
The chapter ends with the game’s closing scenes and credits.
Congratulations — you’ve completed Max Payne 3.
Chapter 14 Collectibles Checklist
Golden Rotary Grenade Launcher
- Golden Rotary Grenade Launcher Part 1
- Golden Rotary Grenade Launcher Part 2
- Golden Rotary Grenade Launcher Part 3
Golden RPD
- Golden RPD Part 1
- Golden RPD Part 2
- Golden RPD Part 3
Clues
- Ex-Cop
Achievements/Trophies
- You Push A Man Too Far – Don’t shoot the disarmed man.
- The Road-Kill Behind Me – Destroy everything required on the runway.
- Part III Complete – Complete the final chapter.
- Feel The Payne – Complete the game on Medium.
- Serious Payne – Complete the game on Hard.
- Maximum Payne – Complete the game on Old School.
- Payne In The Ass – Complete the game on Hardcore.
Chapter 14 Collectible Total
6 Golden Gun Parts + 1 Clue = 7 Collectibles
Max Payne 3 Total Collectibles
84 Golden Gun Parts + 65 Clues = 149 collectibles